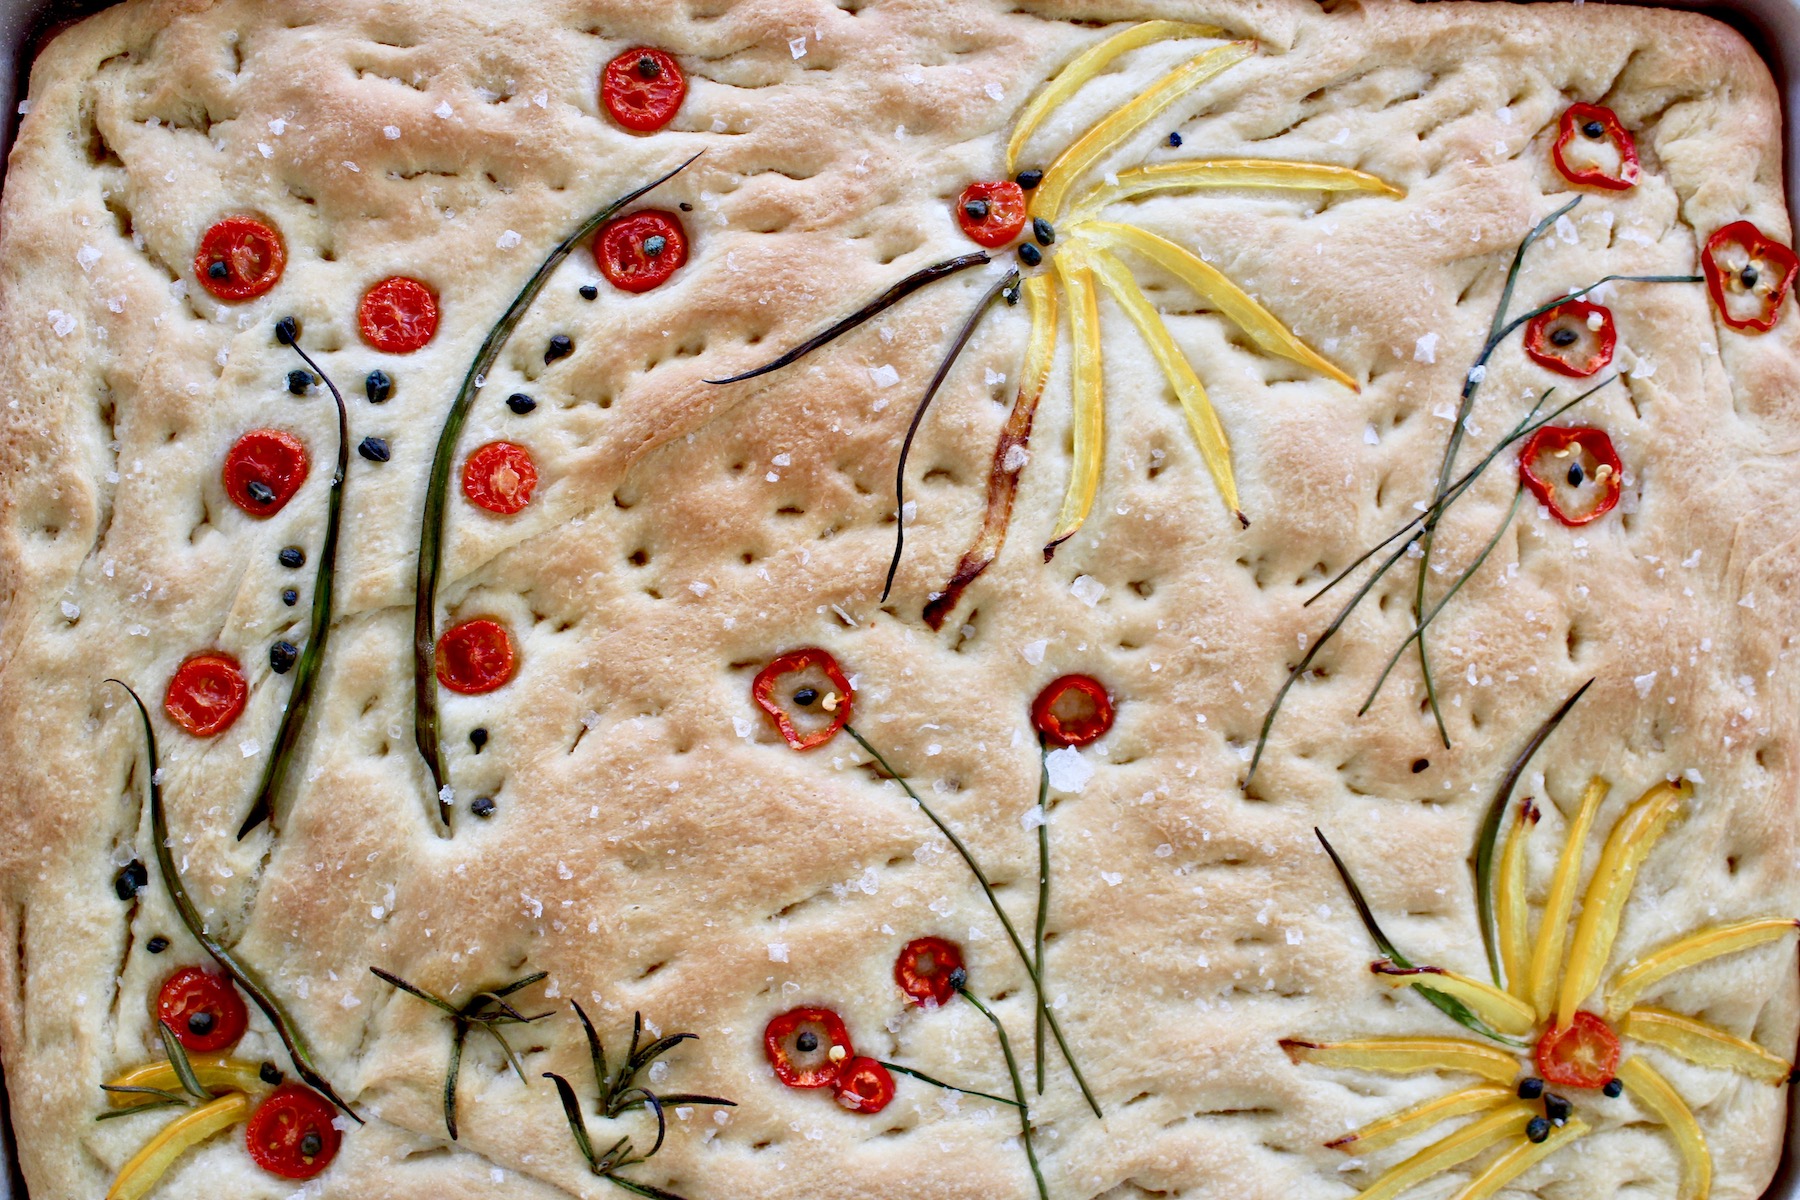
Have you been following posts all over the Web about decorated focaccia bread? I’m not exactly sure how the craze started, but Instagrammers and bloggers alike have been posting the most gorgeous focaccia breads you’ve ever seen – brown and crusty, the tops embellished with herbs, tomatoes, capers, olives or whatever else they can find to make mini works of art. Almost too pretty to eat, actually.
I’m not one to give in to fads (especially those that involve cooking) but I couldn’t help myself with this one. Baking bread is not something I do regularly, though. I think the last yeast-bread I baked was 15 years ago! So I had some trepidation because I’m a bit rusty and I didn’t have a lot of time to get this post out. In the end, everything went smoothly, and I can assure you that if you don’t think you’re a ‘baker,’ you can tackle this bread very easily AND get awesome results!
I researched lots of recipes, leaning toward folks (i.e., Italians!) who know a thing or two about good focaccia. All the big names have a recipe, including Marcella Hazan, Lydia Bastianich, Massimo Bottura, and Giada DeLaurentiis. Recipes range from a couple of hours to a full day. Ingredients (flour, yeast, sugar, olive oil, and salt) are pretty standard, but the interpretation of those ingredients makes each recipe unique. Ultimately, I decided to use Ann Burrell’s classic recipe, which seemed straightforward, and took a shorter amount of time.
Focaccia is like a cross between pizza dough and flatbread, baked in a flat, oiled pan. It’s the dotting of the bread (poking your fingers through the dough after it has risen, creating little pockets for good stuff to fall into, like olive oil, flaky salt, herbs, dried tomatoes, pesto, etc.) that makes it even more delicious.
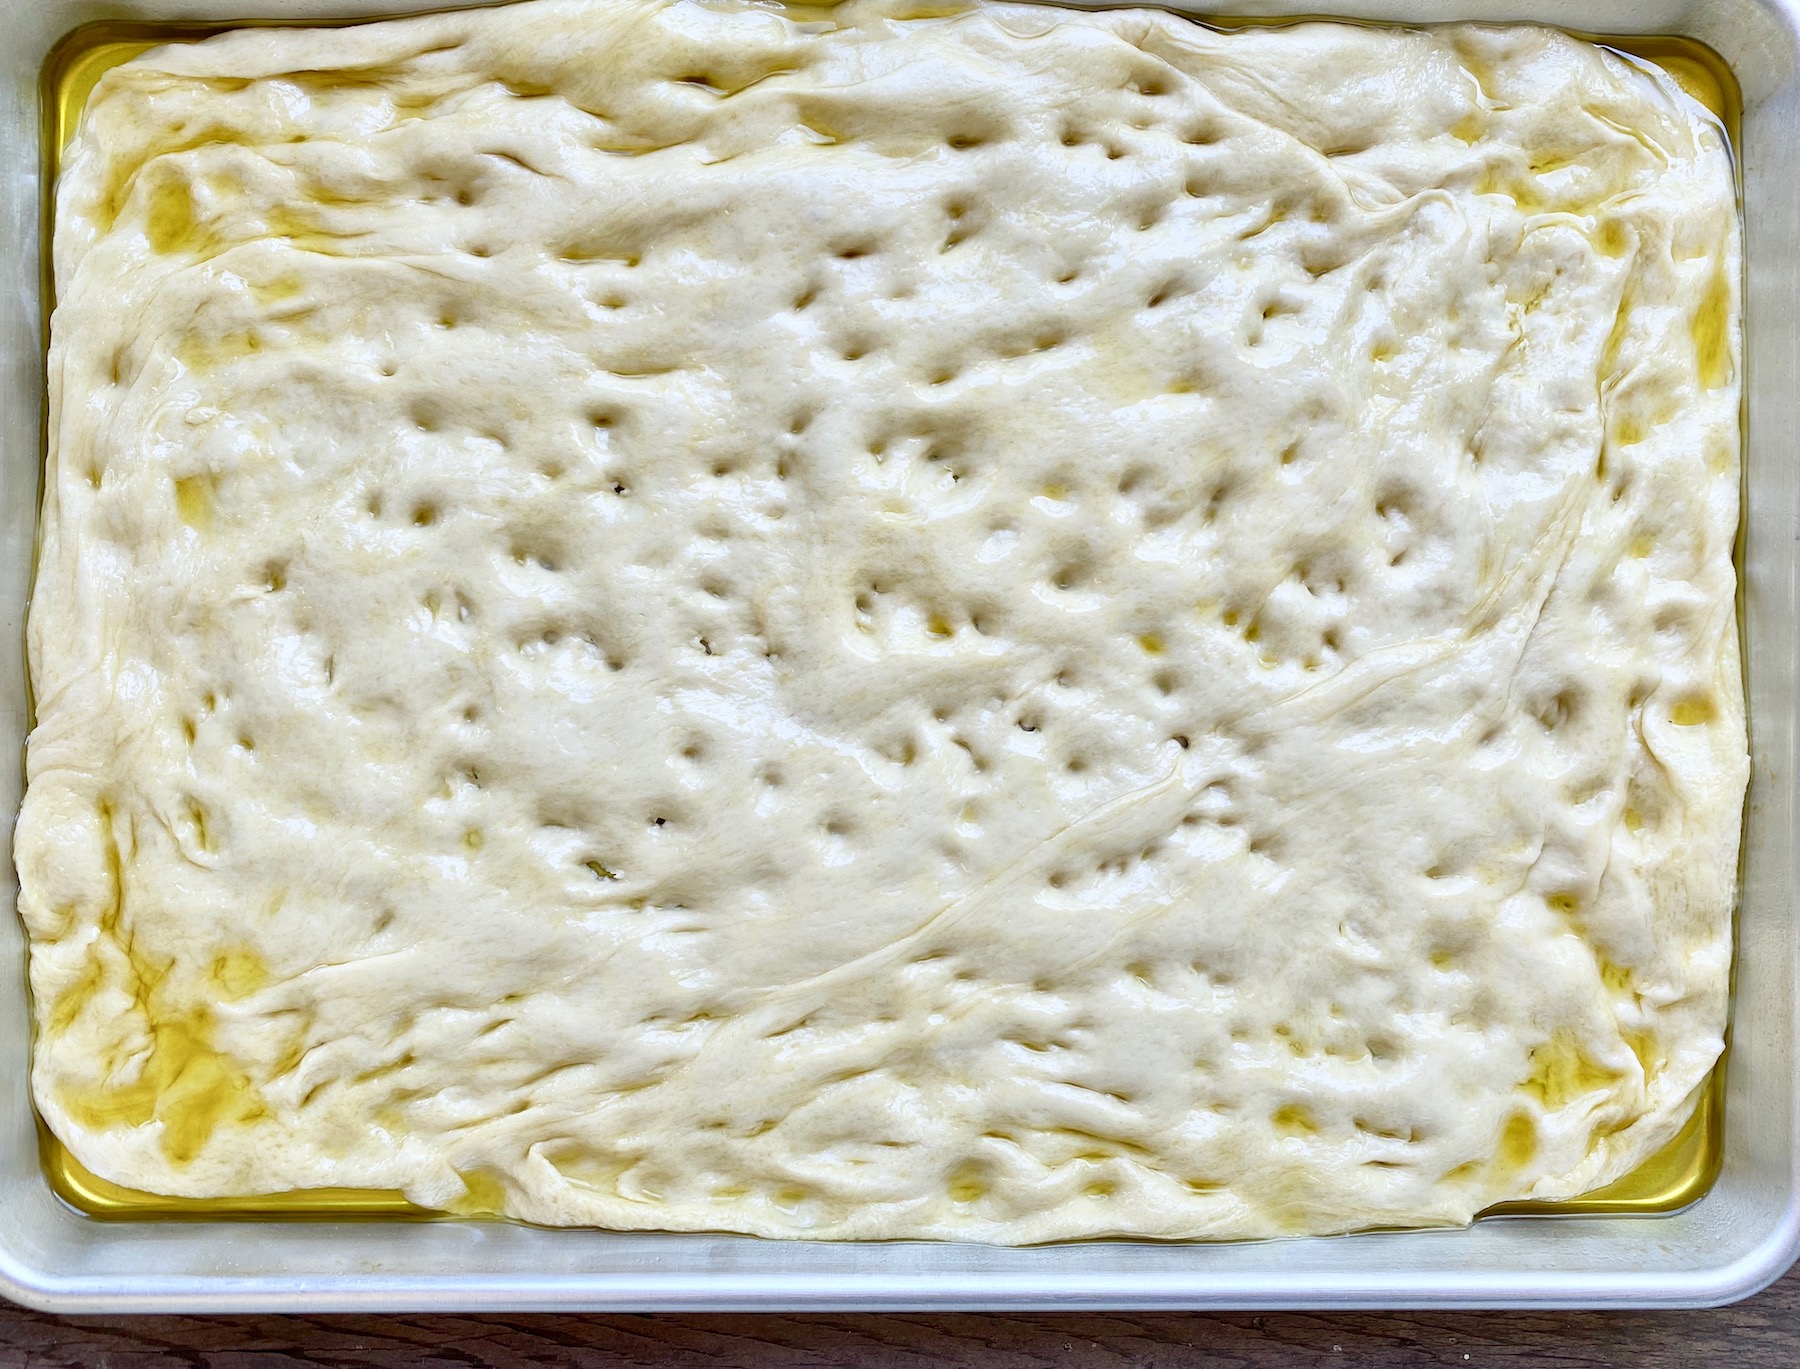
Once you make the dough and let it rise (twice), you can then get those creative juices flowing. Pick out some veggies or herbs that will add color and can be tapped lightly into the fluffy dough before baking. Start with simple, floral designs to get started, until you gain some expertise and decide to make more focaccia!
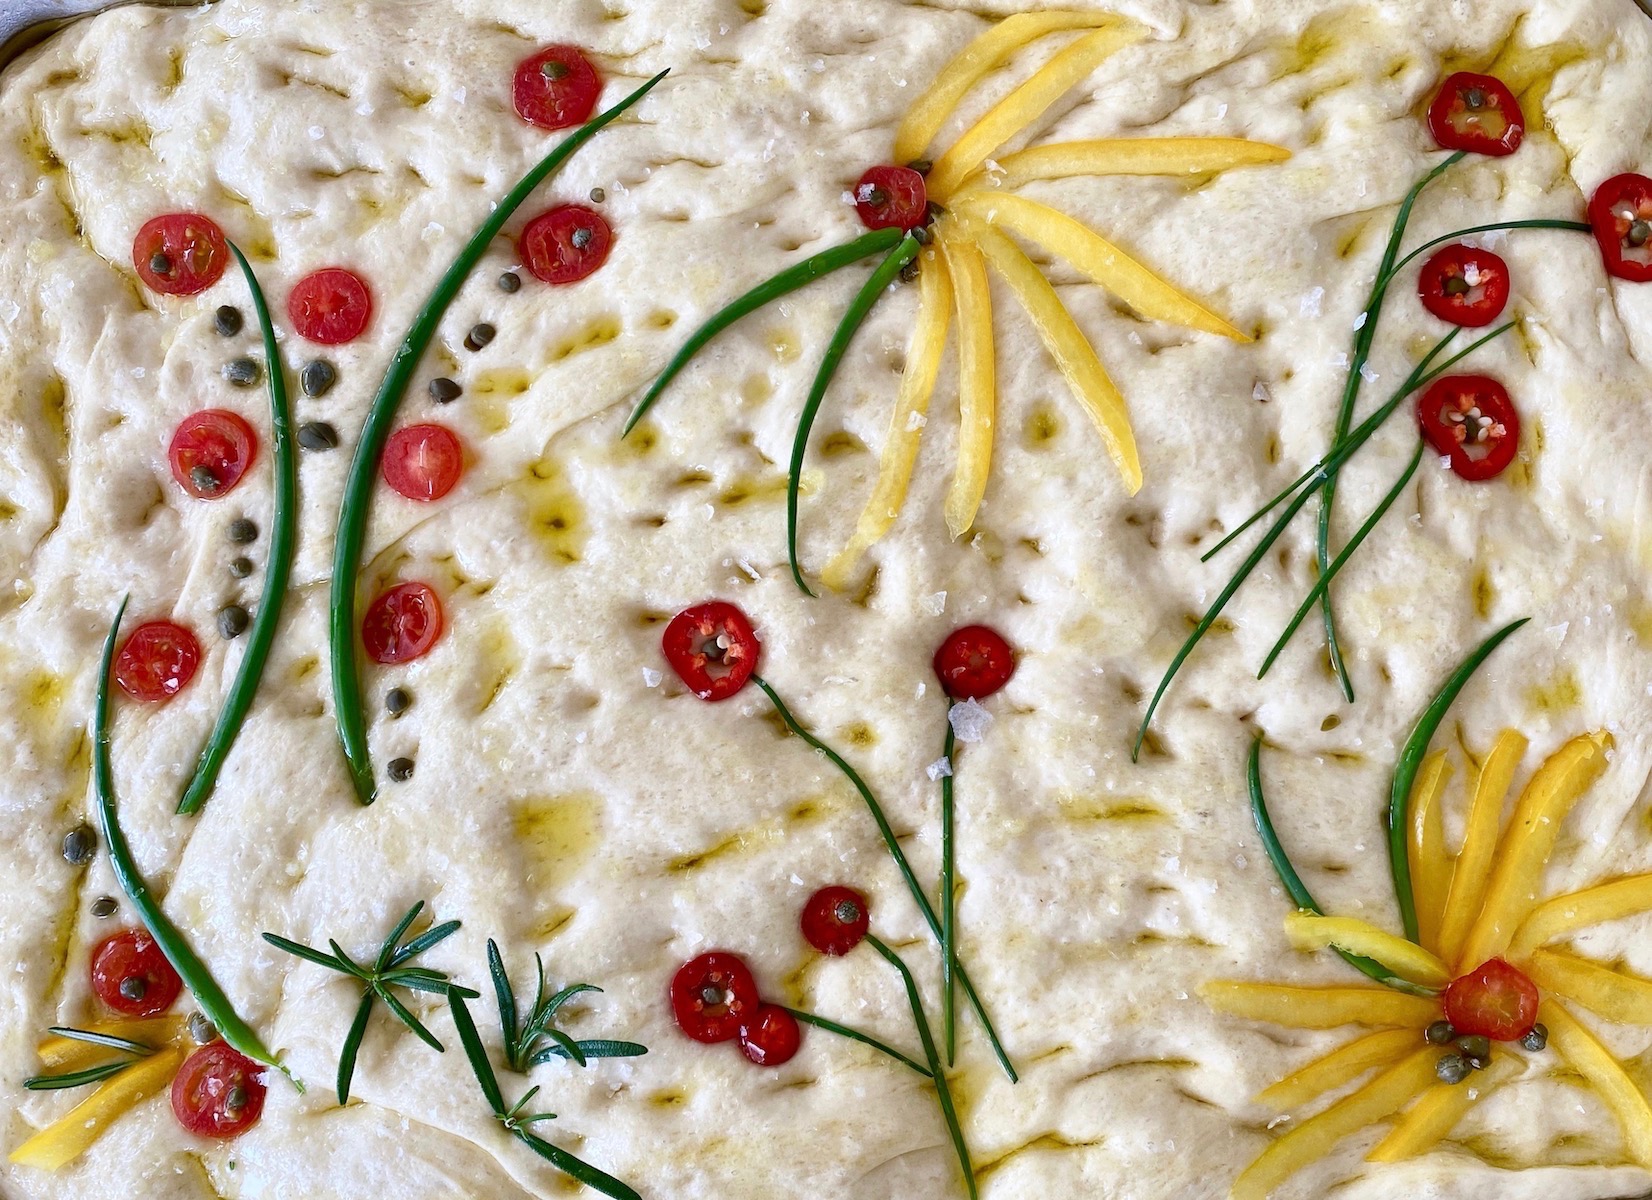
Your design certainly doesn’t have to be perfect, but it’s fun and it’s rewarding to pull out of the oven a brown, crispy-edged beauty that everyone will drool over.
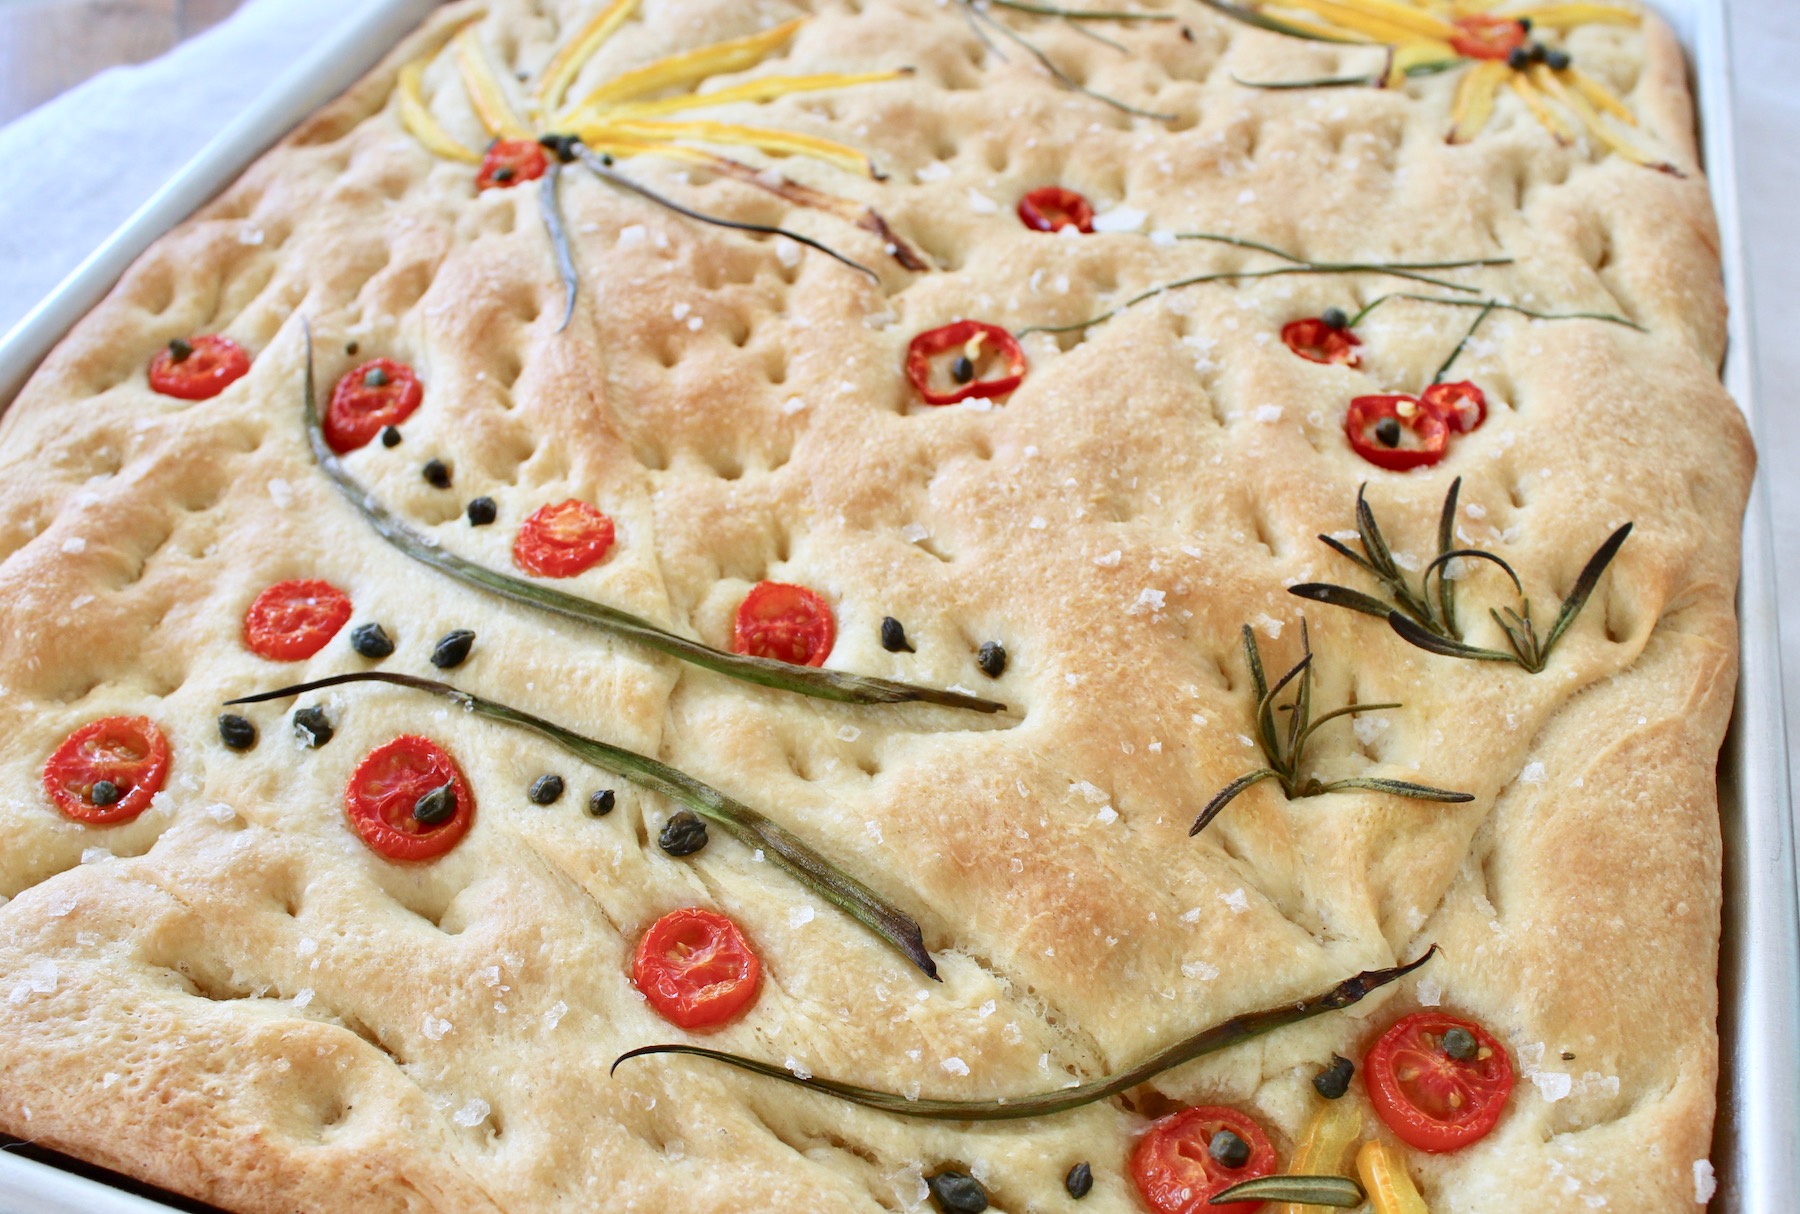
This is a tender, flaky bread, with lots of crispy edges (due to all that olive oil), flaky salt for a little crunch, and decorative toppings that add a surprise of flavor in every bite. Enjoy it, and remember, “All sorrows are less with bread.” (Miguel de Cervantes, Don Quixote)
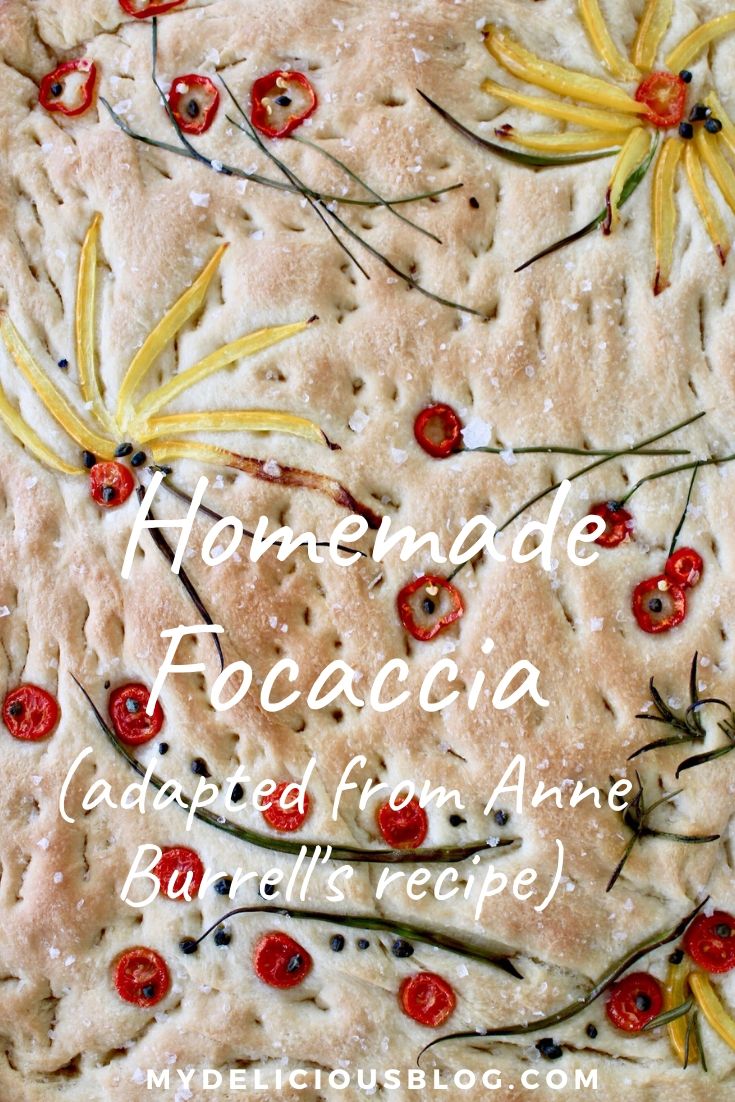
Homemade Focaccia
Adapted from Anne Burrell's recipe - light, flaky, buttery and delicious. The added decorative touches on top make it even more amazing!
Servings: 10
Ingredients
- 1 3/4 cup Warm water
- 1 pkg Active dry yeast
- 1 Tb. Granulated sugar
- 5 cups All-purpose flour
- 1 Tb. Kosher salt
- 1 cup Extra virgin olive oil, divided (plus more for drizzling before baking)
- Red/yellow peppers, olives, chives, basil, tiny tomatoes, hot peppers, etc. - chopped and/or sliced to accommodate your design (slice and place on paper towels to eliminate excess moisture before placing on dough)
- 1-2 tsp. Flaky salt (sea, Maldon, other)
Instructions
- In a small bowl, stir together water, yeast and sugar, then cover and place in a warm area to activate the yeast (about 20 minutes).
- When the mixture is nice and bubbly, add it to the bowl of a stand-up mixer (fitted with a dough hook), along with flour, 1 Tb. Kosher salt, and 1/2 c. olive oil. Start the mixer on low until it's combined, and gradually work up to medium speed, for a total of 5-6 minutes.
- Remove dough from bowl and place on a floured surface; knead it a few times.
- Coat a large glass bowl with olive oil. Place dough in bowl, cover with plastic wrap, and let sit in a warm area for about 1 hour so it doubles in size.
- Pour the remaining 1/2 c. olive oil into a 12X17 rimmed baking sheet.
- Remove dough from bowl and place onto the oiled baking sheet. Flip it over so all sides are covered in oil. Press the dough toward the outer edges of the sheet, digging your fingers into the dough to form indentations (don't worry if you make holes in the bottom of the dough - it's all good). Place the sheet in a warm place to let it rise again for about 1 hour.
- Preheat oven to 425 degrees.
- Carefully place toppings onto the dough, pressing gently to secure them. Sprinkle with a little more olive oil and the flaky salt. Bake for 25-30 minutes, until nicely browned (careful not to burn your toppings).
- Remove from oven and allow to cool for a few minutes before serving. It's best served warm!



I hope you give it a try – it’s really fun, and you can get those creative juices flowing, too! Thanks for following my blog 🙂
Hi Nicole, Mom’s are great aren’t they? This looks Beautiful! Delicious too! I can’t wait to try making it myself. Like you, I haven’t done much baking but lately I’ve been doing more and it is SO satisfying! For health reasons (both husband and I) I want to know what we’re eating and cut down on additives and extra sugar. This recipe is perfect and very timely. We LOVE fresh bread so I’ll just go and get started! Thank you so much for this post, and your wonderful blog. I love it here! 🙂 Mary
Yes! The house smelled delicious 🙂
WOW!! You made bread. The artist in you is certainly showing. How very pretty and I’ll bet it smells wonderful. Please make this the next time we’re over. I did copy the recipe and certainly will try this.